
A window herb garden is a delightful and practical way to bring fresh, aromatic herbs into your home year-round. Whether you’re an avid cook looking to enhance your culinary creations or simply want to add a touch of greenery to your living space, a window herb garden can provide a convenient and sustainable source of fresh herbs. In this article, we’ll explore the benefits of having a window herb garden and provide a step-by-step guide to help you get started on your own indoor herb oasis.
Benefits of a Window Herb Garden:
- Fresh Herbs at Your Fingertips:
- With a window herb garden, you can have access to fresh herbs whenever you need them, without having to make a trip to the store. This can elevate the flavors of your dishes and inspire you to get creative in the kitchen.
- Cost-Effective and Sustainable:
- Growing your own herbs is more cost-effective than buying them from the store, especially since you can harvest them as needed. It’s also a sustainable practice that reduces your carbon footprint and reliance on packaged herbs.
- Aesthetic Appeal:
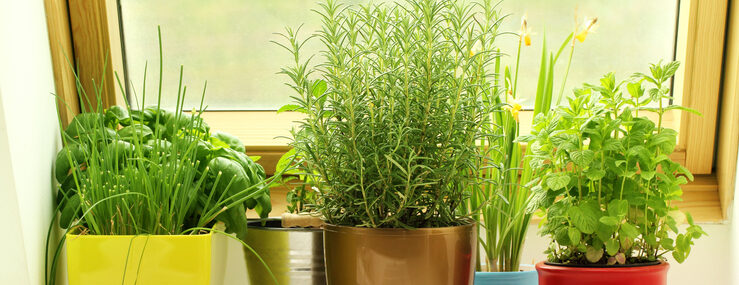
- A window herb garden adds a touch of greenery and beauty to your home, creating a calming and inviting atmosphere. It can also serve as a decorative element in your kitchen or living space.
- Educational and Therapeutic:
- Planting and caring for a window herb garden can be a rewarding and educational experience. It can teach you about plant care and cultivation while providing a therapeutic outlet for stress relief and relaxation.
Getting Started:
- Choose the Right Location:
- Select a window that receives at least 6-8 hours of sunlight per day, as most herbs require ample sunlight to thrive. South-facing windows are ideal, but east or west-facing windows can also work well.
- Select Your Herbs:
- Choose herbs that you use frequently in your cooking and that are well-suited to indoor growing. Popular choices for a window herb garden include basil, thyme, mint, parsley, chives, and oregano.
- Choose Containers:
- Select containers with adequate drainage holes to prevent waterlogging. You can use small pots, planters, or even repurpose containers such as mason jars or tin cans.
- Plant Your Herbs:
- Fill each container with potting soil and plant your herbs, ensuring they are spaced appropriately and not overcrowded. Water thoroughly after planting.
- Care and Maintenance:
- Place a saucer under each container to catch excess water and prevent water damage to your windowsill. Water your herbs when the top inch of soil feels dry and fertilize them periodically with a balanced liquid fertilizer.
- Harvesting:
- Harvest your herbs regularly to encourage growth and keep them from becoming leggy. Use sharp scissors to snip off the top leaves and avoid cutting more than one-third of the plant at a time.
A window herb garden is a delightful and rewarding addition to any home, providing a convenient source of fresh herbs for cooking, as well as a beautiful and aromatic indoor garden. By following these simple steps, you can create your own window herb garden and enjoy the many benefits it offers. Whether you’re a seasoned gardener or new to indoor gardening, a window herb garden is a great way to bring the joys of gardening into your home year-round.